How to Repair Light Pole Foundations Without Replacement (Step-by-Step Guide)
- Jarred Jones, P.E.
- Mar 23
- 3 min read
Introduction
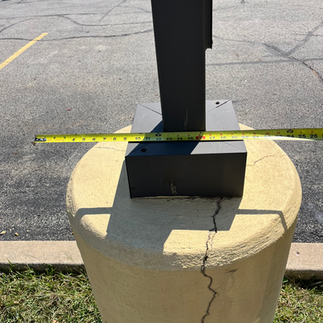
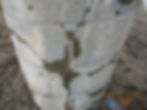
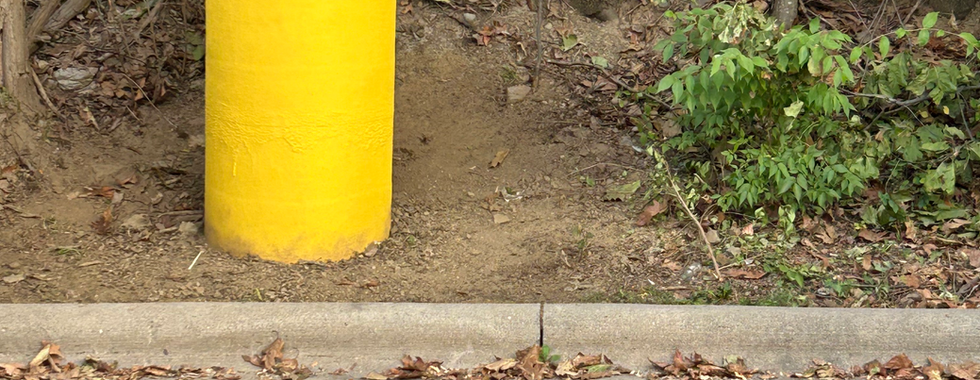
Deterioration at the base of light poles, is one of the most common—and often misdiagnosed—issues across parking lots, commercial properties, and municipal infrastructure across North America.
Cracking, spalling, exposed steel, and section loss are frequently treated as a replacement problem. But in most cases, replacement isn’t necessary. With the right approach, these foundation bases can be repaired, strengthened, and protected—without removing the light pole, shutting down the site, or disrupting operations.


Repairing Light Pole and Sign Foundations Without Replacement
Contractors, engineers, and property managers are using non-invasive composite strengthening systems, including carbon fiber to restore performance and extend service life without removing the structure or disrupting the site.
In many applications, this is achieved by installing a high-strength composite shell—an external structural jacket that reinforces the concrete, stabilizes damage, and restores load capacity.
Why These Foundations Fail
Light pole foundations are exposed to a combination of environmental and structural stresses:
Freeze-thaw cycles and moisture intrusion
Chloride exposure (deicing salts)
Corrosion of embedded steel and anchor bolts
Impact from vehicles or equipment
Wind loading and cyclic fatigue
Long-term material degradation
These conditions lead to cracking, spalling, voids, corrosion, and reduced structural reliability.
High-Risk Environments
Deterioration accelerates in:
Cold climates (Midwest, Northeast, Canada)
Salt-exposed areas (parking lots, roadways)
Coastal and high-wind regions (Florida, Gulf Coast)
In these environments, damage often begins within the concrete, making long-term protection critical.
Repair vs. Replace
Replacement requires removal, demolition, and reconstruction—often with significant cost and disruption.
A repair-first approach allows you to:
Avoid demolition
Keep structures in service
Complete repairs quickly
Extend service life with engineered solutions
For property managers, this means minimal disruption. For engineers, it restores capacity and durability. For contractors, it creates a scalable, repeatable repair solution.
Step-by-Step: How to Repair and Reinforce Foundation Bases
Step 1: Surface Preparation
Remove all loose and deteriorated concrete, clean the surface mechanically, and expose sound substrate for proper bonding, following all SRS surface preparation guidelines.
Step 2: Chemical Strengthening and Corrosion Protection (as needed)
Apply SRS-4000 Concrete Guard, SRS-4100 Steel Guard, or both depending on site conditions.
SRS-4000: For moisture intrusion, freeze-thaw, and salt-related deterioration
SRS-4100: For protecting embedded steel and anchor bolts from corrosion
Both can be used together for a more comprehensive system
Step 3: Structural Crack Injection and Surface Sealing
Use SRS-3000 Crack Injection Epoxy to inject and seal structural cracks.
As part of this process:
Cracks are pasted and capped at the surface using SRS-2000 Structural Repair or SRS-2100 rapd cure repair paste, if faster set times are required
Minor voids and surface irregularities can be filled during preparation
This step restores continuity and helps prevent further moisture intrusion.


Step 4: Surface Repair and Build-Out (as needed)
Use SRS-2000 or SRS-2100 to rebuild damaged areas or fill voids to create a uniform surface prior to reinforcement.
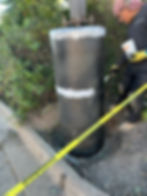
Step 5: Structural Reinforcement with Carbon Fiber
Apply:
24” SRS-660BI bidirectional carbon fiber fabric
Saturated and bonded to the light pole base with SRS-1000 structural epoxy adhesive
Ensure a minimum 6" lap wherever the fabric meets.
This creates a fully bonded FRP composite shell around the foundation base that works with the existing concrete to restore and enhance structural performance.

The bidirectional (0°/90°) fiber orientation provides reinforcement in multiple directions—ideal for bases subjected to wind, impact, and cyclic loading.
What This Step Achieves
Restores structural capacity in deteriorated or cracked concrete
Provides confinement, improving load distribution at the base
Stabilizes cracks and reinforces previously repaired areas
Enhances durability with a non-corrosive structural layer
Installation Overview
Apply SRS-1000 epoxy to the prepared surface
Install SRS-660BI fabric into the wet resin
Fully saturate and consolidate to ensure proper bond
Once cured, this forms a thin, high-strength composite shell that reinforces and protects the foundation—without increasing section size or requiring replacement.


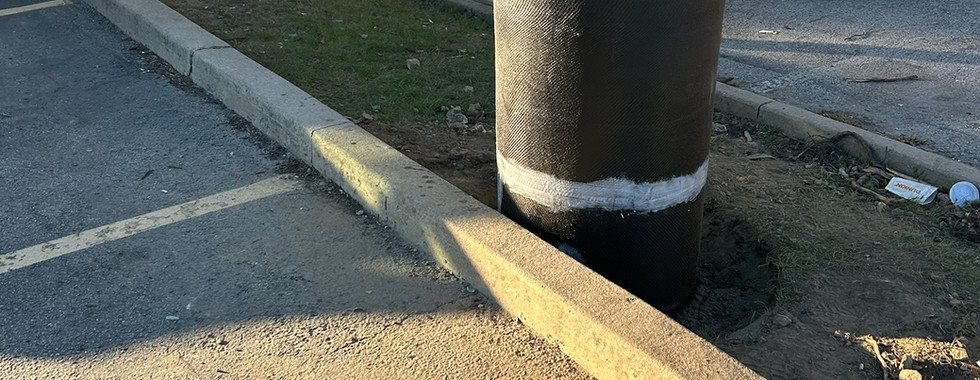


Step 6: Final Epoxy Saturation, Coating, and Finish
Fully saturate and seal the surface with SRS-1000 structural epoxy adhesive, then coat immediately while the surface is still tacky.
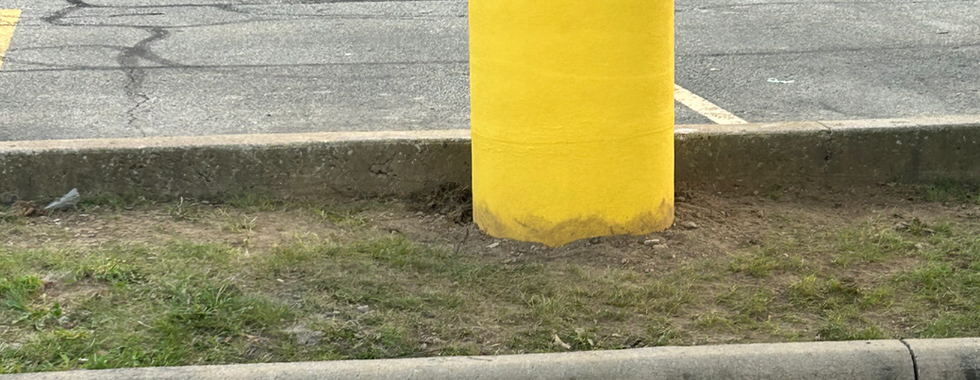
Bases can be finished the same day in:
Concrete color (blend with existing)
Safety colors
Custom finishes as required


Request a Project Review
If you're evaluating deteriorating foundation bases and want to understand whether repair is a viable option, we can help.
Send over photos or project details and we’ll provide:
Repair feasibility assessment
Recommended system approach
Guidance on application and materials
Local Trained Contractor Recommendations